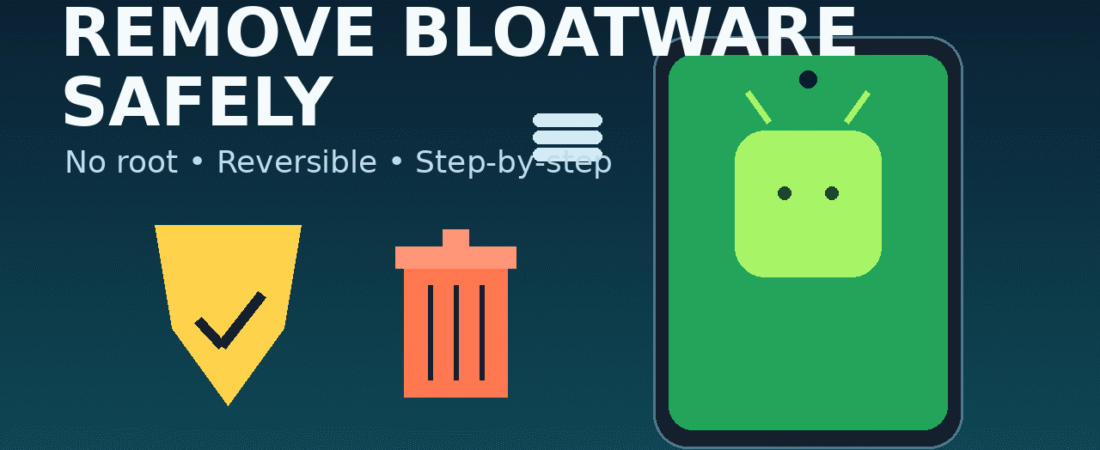
Remove Bloatware Safely:
Table of Contents
If you’ve ever opened a new Android phone and found two app stores, three music apps, a random browser, a game folder, and a “cleaner” app you never asked for, you’ve met bloatware. The good news: you can remove bloatware safely without rooting your phone—and without breaking updates or notifications—if you follow a careful process.
This guide follows a “least risk first” method: start with uninstalling obvious junk, then disabling stubborn apps, and only then use ADB (still no root) if needed. That order matters because it keeps everything reversible and reduces the chance of deleting something important.
Important disclaimer: Removing the wrong system package can break features (camera, calls, Wi‑Fi, payments, etc.). Use the “Safe List mindset”: remove/disable only what you recognize, and test after each change. If you’re unsure, don’t touch it.
What is bloatware (and why it slows your phone)?
Bloatware is preinstalled software added by manufacturers, carriers, or partner companies. Some of it is useful (system services, dialer, messaging). But a lot of it:
- runs in the background,
- shows ads or spam notifications,
- duplicates Google apps,
- Consumes storage and RAM,
- drains battery via auto-start services.
That’s why people try to remove bloatware safely as a core Android optimization step.
Before you start: a 5‑minute safety prep (don’t skip)
These steps make everything safer and reversible.
1) Update your phone + apps first
- Settings → System → Software update (name may vary)
- Play Store → Manage apps & device → Update all
Updates sometimes make bloatware easier to disable and reduce bugs.
2) Back up important stuff
At minimum:
- Contacts synced to Google
- Photos backed up (Google Photos or copied to PC)
- WhatsApp backup (Settings → Chats → Chat backup)
A backup is your safety net before you remove bloatware safely.
3) Understand the 3 levels of removal
You’ll use them in this order:
- Uninstall (best) — removes the app like normal.
- Disable (safe) — hides it and stops it from running.
- ADB uninstall (no root) (advanced) — removes for the current user; reversible.
Step 1: Uninstall obvious bloatware (fastest win)
Start with apps that are clearly optional.
Usually safe to uninstall
- trial games
- Shopping apps you don’t use
- duplicate browsers (if you already use Chrome/Firefox)
- social apps you don’t use
- “Tips,” “Get started,” “Hot apps,” “App selector” type apps
How to uninstall
- Long‑press app icon → Uninstall
- Or Settings → Apps → See all apps → (App) → Uninstall
After removing 5–10 apps, restart once. This is the easiest way to remove bloatware safely.
Step 2: Disable preinstalled apps you can’t uninstall (safe + reversible)
Many OEM apps can’t be removed normally. Disabling is usually safe.
How to disable
- Settings → Apps → (App) → Disable
- Confirm warning
When disabled, Android:
- prevents it from running,
- removes it from the app drawer,
- reduces background activity.
Disabling is the #1 method to remove bloatware safely without touching risky system packages.
Bonus: Kill spam notifications
Even if you don’t disable the app:
- Settings → Notifications → App notifications → Off
Step 3: Use built‑in “Debloat” controls (varies by brand)
Different brands give different tools to help you remove bloatware safely.
Samsung (One UI)
- Settings → Apps to disable
- Battery → Background usage limits to reduce drain
- Device care for storage cleanup
Xiaomi/Redmi/POCO (MIUI/HyperOS)
- Settings → Apps → Manage apps
- Autostart list (disable for junk apps)
- “Security” app controls (varies)
OPPO/Realme (ColorOS)
- App management + auto-launch controls
Vivo (Funtouch)
- Background limits and permission controls
If you disable autostart + notifications, you already remove bloatware safely for most users.
Step 4: Identify bloatware correctly (don’t guess)
This is where most people mess up.
✅ Safe idea: remove/disable apps that are optional and not required for basic phone functions.
❌ Risky idea: deleting random “services” packages because a YouTuber said so.
Avoid removing these
- Phone/Dialer services
- System UI
- Google Play services
- permission controllers
- Bluetooth/Wi‑Fi services
- camera services
- biometrics/fingerprint services
- OEM “core” frameworks
Quick bloatware test
Ask:
- Do I use this app weekly?
- Does it duplicate another app?
- Does it push ads or notifications?
- Can I uninstall/disable it from Settings?
If it fails these, it’s a candidate to remove bloatware safely.
Step 5: The safest “debloat categories” (better than risky app lists)
Because every brand is different, it’s safer to target categories instead of random package lists.
Usually safe to remove/disable
- carrier apps (if unlocked and unused)
- demo apps and trials
- partner apps (booking, shopping, games)
- duplicates (two browsers, two email apps, two assistants)
- OEM app stores (if you only use the Play Store)
- theme stores (if you don’t customize)
Usually NOT safe
Anything named:
- System / Framework / Services / Provider / Core / UI / Setup / Telephony
This mindset helps you remove bloatware safely without breaking features.
Step 6 (Advanced): Remove stubborn bloatware safely using ADB (No Root)
Some apps can’t be uninstalled or disabled in Settings. ADB is the cleanest advanced option that still lets you remove bloatware safely.
What ADB does (simple)
ADB lets your computer send commands to your phone. You can uninstall an app for the current user (user 0). The package typically remains on the system partition, so it’s often reversible.
What you need
- Windows/Mac/Linux PC
- USB cable
- Android platform tools (ADB)
A) Enable Developer Options + USB debugging
- Settings → About phone
- Tap Build number 7 times
- Back → Developer options
- Enable USB debugging
B) Verify connection
Shell
adb devices
Show more lines
Allow the prompt on the phone.
C) Find package name

Filter examples:
Mac/Linux:

Windows PowerShell:

D) Uninstall (safer no-root method)

This is the key command to remove bloatware safely without root.
E) Reinstall if something breaks

Then reboot.
✅ Best practice: remove only 1–2 apps, then test for 10 minutes (calls, camera, Wi‑Fi, notifications). This step-by-step approach is how you remove bloatware safely without regret.
Step 7: Verify nothing important broke (fast checklist)
After each debloat session, test:
- Calls (dial + receive)
- SMS/WhatsApp notifications
- Wi‑Fi + Bluetooth
- Camera + gallery
- GPS/Maps
- Play Store installs/updates
- Fingerprint/Face unlock
If something fails, reinstall the last removed package. That’s how you remove bloatware safely like a pro.
Step 8: Stop bloatware from coming back
Some apps reappear after updates or OEM app stores push them.
1) Turn off “recommendations” / promotional notifications
Look for:
- Get recommendations
- Receive suggestions
- Personalized ads
Common places:
- Settings → Privacy → Ads
- Settings → Notifications → App notifications
2) Disable auto-install in OEM stores
Open OEM store → settings → disable auto updates/auto installs.
3) Use one trusted store
For most users: Google Play Store only.
This keeps the system clean after you remove bloatware safely.
Step 9: Measure results (so you know it worked)
Storage breathing room
- Settings → Storage
- Aim for 15–20% free for smooth performance.
Battery drain
- Settings → Battery → Battery usage
- Watch background-heavy apps.
Real-life test (best)
Open these quickly:
- Camera → take a photo
- Chrome → 3 tabs
- WhatsApp → send/receive
- YouTube → play a video
If switching feels smoother and the heat is lower, the debloat worked.
Step 10: Brand notes (safe habits instead of risky package lists)
Samsung (One UI)
- Prefer Disable over ADB for Samsung services unless you’re 100% sure.
- Keep anything related to Knox, System UI, Phone, and payments (Wallet/Pay if you use them).
Xiaomi/Redmi/POCO (MIUI/HyperOS)
- Often includes ad/recommendation services.
- Safer order:
- disable notifications,
- disable autostart,
- ADB only for truly unwanted apps.
OPPO/Realme/Vivo
- Background controls can affect notifications.
- After you remove bloatware safely, check WhatsApp/Telegram notification permissions.
Troubleshooting: Common ADB Problems (quick fixes)
If you try ADB and get stuck, here are safe fixes:
- Device not detected in
adb devices- Change USB cable/port
- Toggle USB mode to “File transfer.”
- Re-enable USB debugging
- Unauthorized
- Reconnect USB
- On phone: revoke USB debugging authorizations (Developer options)
- Reconnect and accept the prompt again
- Package not found
- Copy the exact package name from the list command
- Search using
grep/findstrwith a broader keyword
Remember: even with ADB, the safest approach is still slow and steady—one change at a time—so you can always roll back and remove bloatware safely without panic.
Final thoughts: safest strategy (simple and effective)
The safest strategy is:
- Uninstall obvious junk
- Disable what you don’t need
- Use ADB only for stubborn apps
- Test after each change
Follow this method, and you’ll remove bloatware safely while keeping your phone stable, smooth, and battery‑friendly.
Some other GEEKMATREX Guides:
Android Optimization in 2026: Make Any Phone Faster, Smoother, and More Battery-Friendly
“Fix High RAM Usage in Windows 11/10”
“Best Free Windows Optimization Tools (2026)”
How to Optimize Your PC for Faster Performance (2025 Guide)
Speed up Windows 11 boot (2026 Guide): Cut Startup Time, Fix Slow Login, and Get a Faster PC