Disable integrated graphics in BIOS:
Table of Contents
You finally did it. You saved up, bought a massive dedicated graphics card (dGPU), and slotted it right into your motherboard. You boot up your PC, launch your favorite game, and… it runs terribly.
You open Task Manager and notice two things: Windows is listing two different GPUs, and mysteriously, 2GB of your expensive system RAM is listed as “Hardware Reserved.”
What is happening? Your CPU’s Integrated Graphics (iGPU) is still awake, and it is fighting your new dedicated card for resources.
While Windows 11 is supposed to automatically switch to your new graphics card, it often gets confused. Leaving the iGPU enabled can cause driver crashes, micro-stutters in competitive games, and worst of all, it permanently steals system RAM to use as video memory.
At GeekMatrex, we don’t believe in leaving performance on the table. Today, we are going to show you exactly how to permanently disable integrated graphics in your BIOS and force your PC to respect your new hardware.
Section 1: The “Black Screen” Warning (Do This First!)
Before we even think about restarting your computer to enter the BIOS, we have to address the number one mistake new PC builders make: The Display Cable Trap.
If you are going to disable the motherboard’s graphics chip, you can no longer plug your monitor into the motherboard. If you do, you will get a permanent black screen when you boot up.
The Golden Rule: Look at the back of your PC.
- Unplug your DisplayPort or HDMI cable from the vertical ports near the top (the motherboard I/O).
- Plug it directly into the horizontal ports further down on the back of the case. These are the ports directly attached to your new dedicated graphics card.
Once your monitor is physically connected to your new GPU, you are safe to proceed.
Section 2: How to Enter the BIOS
To kill the iGPU, we have to go below Windows, straight to the motherboard’s firmware.
- Restart your PC.
- The moment the screen goes black, start rapidly tapping the BIOS key on your keyboard. Do not hold it down; tap it repeatedly like you are playing a rhythm game.
- The BIOS Key: For 95% of custom PCs, the key is DEL or F2. (If you are on a pre-built like an HP or Dell, it might be F10 or F12).
You should now be looking at your motherboard’s UEFI BIOS screen. If it looks simple and only has a few basic buttons, look for an option to enter “Advanced Mode” (usually by pressing F7 on your keyboard).
Section 3: Disabling the iGPU (By Motherboard Brand)
Every motherboard manufacturer designs their BIOS menus differently. The setting to disable the iGPU is usually hidden under “System Agent,” “Chipset,” or “Advanced” configurations.
Find your motherboard brand below and follow the exact path.
1. ASUS Motherboards
ASUS refers to the integrated graphics as the “iGPU Multi-Monitor” setting.
- Go to the Advanced tab at the top.
- Scroll down and select System Agent (SA) Configuration.
- Click on Graphics Configuration.
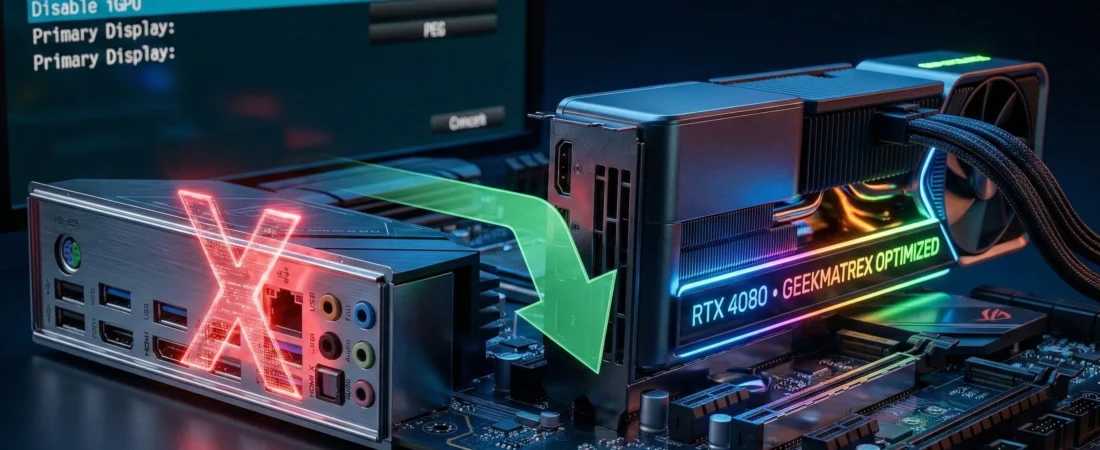
- Look for Primary Display and set it to PEG (PCI Express Graphics) or PCIE.
- Look for iGPU Multi-Monitor and change the drop-down to Disabled.
2. MSI Motherboards
MSI uses slightly different terminology, referring to the integrated graphics as the “IGD.”
- Go to the Settings menu on the left side.
- Click on Advanced.
- Select Integrated Graphics Configuration.
- Look for Initiate Graphic Adapter and set it to PEG.
- Look for IGD Multi-Monitor and change it to Disabled.
3. Gigabyte Motherboards
Gigabyte keeps it relatively straightforward in their modern IO ports menu.
- Go to the Settings tab.
- Click on IO Ports.
- Look for Internal Graphics.
- Change the drop-down from “Auto” to Disabled.
4. ASRock Motherboards
- Go to the Advanced tab.
- Select Chipset Configuration.
- Look for Primary Graphics Adapter and set it to PCIE.
- Look for IGPU Multi-Monitor and change it to Disabled.
Final Step for All Brands: Once you have changed the setting, press F10 on your keyboard. This is the universal shortcut to Save and Exit. Confirm the changes, and your PC will restart.
Section 4: Verifying the GeekMatrex Way
When Windows boots back up, your resolution might look stretched and weird for a minute. This is completely normal; Windows is just initializing your new dedicated graphics driver.
Let’s verify that the surgery was a success.
- Right-click the Windows Start button and select Task Manager.
- Click on the Performance tab on the left.
- Scroll down to the bottom of the hardware list.
- The Result: You should now only see one GPU listed (e.g., GPU 0: NVIDIA GeForce RTX 4060). If the “Intel UHD” or “AMD Radeon Graphics” entry is gone, you succeeded.
- Now, click on Memory in that same Performance tab.
- The Result: Look at the bottom right corner for “Hardware reserved.” It should now be a tiny number (like 50MB to 100MB). If it previously said 2.1GB, you just successfully gave your PC back 2 gigabytes of high-speed system RAM.
Conclusion: Total Hardware Control
“Auto” settings are the enemy of PC optimization. When you leave your BIOS set to automatically manage your graphics, you invite driver clashes, phantom RAM usage, and frame pacing issues.
By manually disabling your integrated graphics, you force your system to rely 100% on the dedicated hardware you paid good money for. Your system memory is freed up, your rendering pipeline is simplified, and your PC is finally optimized.
Did this fix your missing RAM issue or stop your games from stuttering? Drop your CPU and new GPU combo in the comments below so we can see what rigs the GeekMatrex community is running in 2026!
Some other GEEKMATREX Guides:
Is Process Lasso Safe? The Truth About Bans, Viruses, and System Stability (2026 Review)
Stop Using Game Boosters: Why Process Lasso is the Only Tool You Need (2026 Guide)
Stop Your Phone Overheating: The Technical Guide to Fixing Android AI Battery Drain Fix (2026)
Stop CPU Core Parking: How to Unlock Ultimate Performance Windows 11 (Free Tool)
Intel vs AMD in 2026: Which CPU Is Better for Gaming, Work, and Budget Builds?
Android Optimization in 2026: Make Any Phone Faster, Smoother, and More Battery-Friendly
How to Remove Bloatware Safely on Android (No Root) — 2026 Step‑By‑Step Guide
“Fix High RAM Usage in Windows 11/10”
“Best Free Windows Optimization Tools (2026)”
Fix Android Wi-fi Keeps Disconnecting (2026): Causes + Step‑by‑Step Solutions That Work